Introduction
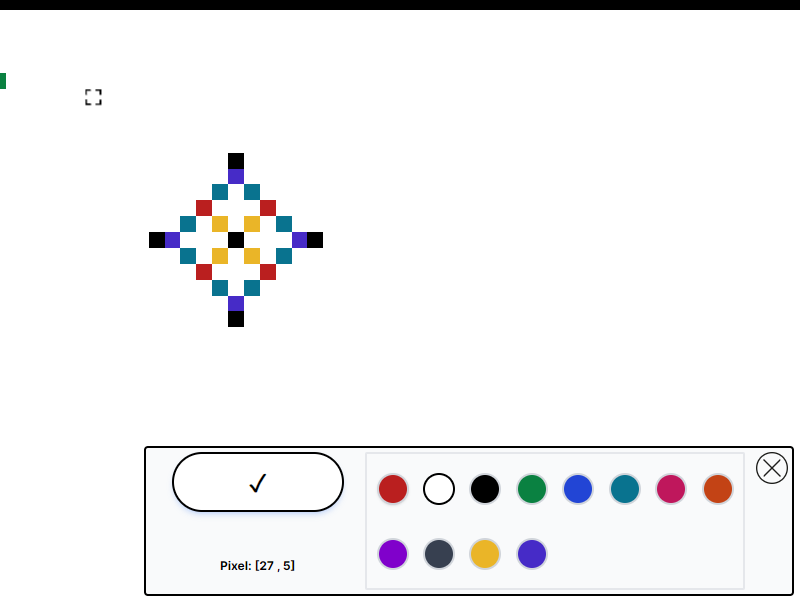
This is a re-creation of a well-known game, inspired by the reddit.com/r/place community. I've built mine with NextJS, MongoDB, and Socket.io. Users are provided with a canvas where they can choose a pixel and assign it a color. These updates are instantly shared and viewed by all users through Socket.io.
Why am I building this?
- A challenging and interesting project
- Highly interactive with live data.
- To push my problem solving skills
I'm drawn to this project because it's complex and engaging, with a focus on innovative ideas. It offers real-time data interaction, which I think will be beneficial for creating future websites and apps. I'm excited to test my problem-solving abilities and delve into some reverse engineering as well.
Inital Research
There where a key resources I found to help me approach this project.
- A video and article called "How We Built r/place" by Reddit
- MDN Web Docs for Canvas API and ImageData
- Two good examples of re-creations of the game rplace.live and canvas.place (designed as a open-source alternative to the original)
Using these resources I learnt the following key information that helped me approach this project:
- A image is used to transfer the initial grid in a PNG format. As the built-in lossless compression reduces file size without losing data.
- Web sockets are used to keep the clients grid updated as other users make changes.
- The 2 main ways a "pixel" can be drawn or represented on a HTML canvas. (They each have different drawbacks)
- My testing indicated that using fillRect() to create pixels significantly impacted browser performance, even with a 100x100 grid (1000 pixels). This limitation restricted the game size, as the original game was much larger at 3000x2000 pixels. Drawing every pixel using fillRect() when a user first entered the game was time-consuming. However, fillRect() allowed for easy updates once the initial load was complete.
- An alternative was to convert a PNG into an ImageData object and then draw this to the canvas from an array. This method supported larger grid sizes of thousands of pixels. But, it required reprinting the entire ImageData object onto the canvas for any pixel changes, unlike fillRect() which permitted printing individual pixels. A solution to this was to group changes together, for instance, every 2 seconds, thereby reducing the frequency of re-renders in situations where hundreds of changes occurred simultaneously.
Reflection
In this section, I will discuss the changes I would make and the improvements I've identified. I will also share the insights I gained upon completion of this project.
I want to clarify that complete open-source alternatives, such as canvas.place, are already available. My aim was to undertake a project to enhance my abilities, rather than perfecting every aspect.
I plan to focus on refining all details in a different project, which I intend for public use.
-
Redefine a clear and intuitive way to model the changes in X and Y. This would of made implementing/debugging panning and on-pointer-zooming easier.
In CSS, the top-left corner is represented by (0,0), and the y-value rises as you go down. Although this makes sense, it can be confusing, as in mathematical conventions, the y-axis usually decreases when moving downward.
If I had initially made the y-value negative, the process would have been less confusing. However, I didn't foresee the complexity of calculating panning and zoom at the start.
Once I realized this, I had already written a substantial amount of functioning code, and flipping the y value to negative would have require me to rethink all the math. e.g. y1 = 10 and y2 = 20 and I want to find the difference, well that would be y1-y2=-10 but If i converted all y values to negative (-y1)-(-y2)=10
... and to add to that confusion the games' grid considers the top-left pixel as (0,0), where moving down increases the grid y value.
The panning/zoom and the grid values are both used together to cacaluate what pixel the user clicked and to keep the selector icon in the right place.
It's not so important which way I chose, but I needed to understand that this is an important detail where I needed to be more intentional. These small details that apply broadly over the whole project are not to be confused with other small one-off details.
-
Use Next.js' SSR generate the client-side pallete using the rplace-config.js, instead of hard coding it. This would help make the code more maintainable as it would keep the rplace-config file as the single source of truth.
At the start I had vairables in the .env file like GRID_SIZE and hard coded it in the client. I also therefore hard coded all the colour options. (I had a bad gut feeling, but I did not see the correct way at the start).
However, later on I realised that It would be better to create a seperate rplace-config.js file. This is something that did not cross my mind at the start, as I was unfamiliar with when to use this convention (but I've seen it used by others) and also preoccupied with figuring it many other things in the project.
There will inevitably be design patterns and conventions that I did not know about. Just recognise what was missed and learn for the future, refactor if necessary.